If you’re interested in starting your own upholstery business, there are a few things you’ll need to do. First, you’ll need to gain some experience by working with an upholsterer or taking classes. Once you have the skills and knowledge necessary, you’ll need to purchase supplies and equipment.
You may also want to consider renting space in a shop or finding a home-based location. Finally, market your business by advertising online and in local publications.
- Research the business: Before starting any business, it’s important to research the industry and potential market for your products or services
- When starting an upholstery business, consider the following questions: Who is your target customer? What type of furniture do they need upholstered? 2
- Develop a business plan: Once you’ve done your research, it’s time to develop a detailed business plan
- This document will outline your business goals, strategies, and how you plan on making money
- Get funding: If you don’t have the personal savings to start your upholstery business, you’ll need to look into small business loans or other forms of financing
- Choose a location: When selecting a location for your business, consider factors such as foot traffic, parking availability, and proximity to potential customers
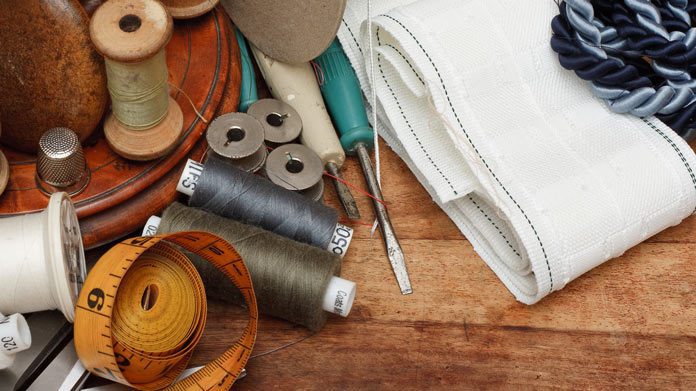
- Purchase equipment and supplies : In order to start upholstering furniture, you’ll need to invest in some quality equipment and supplies
- This includes items like an industrial sewing machine, cutting tools, fabric, stuffing material ,and webbing
- Market your business : After everything is up and running ,it’s important to let people know about your newbusiness ! There are many ways to market an upholstery businessesuch as through online directories ,social media ,or by creating flyers or ads targeting specific demographics
How to Start a Car Upholstery Business
Starting a car upholstery business can be a great way to make money while using your creativity. However, there are some things you need to keep in mind before getting started. Here are a few tips on how to start a car upholstery business:
1. Decide what services you will offer. There are many different aspects of car upholstery, so it’s important to decide what services you will provide. Do you want to focus on seats, floors, dashboards, or something else?
Once you know what services you’ll offer, you can start advertising your business.
2. Gather the necessary supplies. Before you can start working on customers’ cars, you’ll need to gather all of the necessary supplies.
This includes things like fabric, foam, scissors, and other tools of the trade. You may also want to invest in some good quality sewing machines specifically for upholstery work.
3. Create a price list for your services.
Once you know what services you’re going to offer and have all of the necessary supplies gathered, it’s time to create a price list for your customers. Be sure to be competitive with other businesses in your area while still making a profit.
4. Find some clients!
The final step is finding clients who need your services.
Upholstery Business Plan Pdf
An upholstery business plan is a document that outlines the goals, strategies, and financial projections of an upholstery business. It is important to have a well-crafted business plan when seeking funding from investors or lenders. The following is a brief overview of what should be included in an upholstery business plan:
Executive Summary: This section provides a high-level overview of the key elements of the business plan.
Business Description: This section provides more details about the upholstery business, including its history, products and services offered, target market, and competitive landscape.
Marketing Plan: This section outlines the marketing strategies that will be used to reach potential customers and grow sales.
It should include information on advertising, public relations, online marketing, and other promotional activities.
Operational Plan: This section describes how the upholstery business will be operated on a day-to-day basis. It should include information on manufacturing processes, quality control procedures, delivery methods, customer service policies, etc.
Management Team: This section introduces the team of individuals who will be responsible for running the upholstery business. Each team member’s qualifications and experience should be highlighted.
Financial Plan: This section contains financial projections for the upholstery business over a period of time (usually 3-5 years).
It should include income statements, balance sheets, cash flow statements, etc.
How Much Does an Upholstery Business Make
If you’re thinking about starting an upholstery business, you might be wondering how much you can expect to make. The answer, of course, depends on a number of factors, including the size and location of your business, the type of products or services you offer, and the overall demand for upholstery in your area.
That said, there is some data available that can give us a general idea of what an upholstery business might expect to earn in a year.
According to one industry report, the average revenue for an upholstery business was just over $62,000 in 2017. However, it’s important to keep in mind that this figure includes businesses of all sizes and types – from large commercial operations to small home-based businesses.
So, if we take a look at the earnings of individual upholsterers, we find that the median income for this occupation was $35,610 in 2017 (according to the U.S. Bureau of Labor Statistics).
This means that half of all upholsterers earned less than this amount while half earned more.
Of course, these figures don’t account for expenses such as materials and overhead costs – so it’s important to factor those in when considering how much profit an upholstery business might actually make. Nevertheless, they give us a good starting point to estimate earnings potential in this field.
Upholstery Business Ideas

If you’re considering starting an upholstery business, there are a few things you should keep in mind. First, you’ll need to decide what type of upholstery services you want to offer. There are many different options available, from reupholstering furniture to creating custom slipcovers.
Once you’ve decided on the services you want to offer, it’s time to start thinking about marketing and advertising. You’ll need to find ways to reach your target market and let them know about your business.
One great way to market your upholstery business is by offering free consultations or estimates.
This allows potential customers to see what you have to offer and get an idea of your prices. You can also promote your business by creating a website or blog where you showcase your work. Be sure to include plenty of pictures and detailed information about the services you offer.
If you put in the time and effort, you can build a successful upholstery business that will provide years of enjoyment for yourself and your customers!
Upholstery Business near Me
If you’re in the market for upholstery services, you might be wondering “where can I find an upholstery business near me?” Here are a few resources to help you get started in your search:
-The Yellow Pages: This is still a go-to resource for many people when they’re looking for local businesses.
You can use the online version or pick up a physical copy from your nearest newsstand. Just do a search for “upholstery” and your city or zip code to see what comes up.
-Google Maps: This is a great way to see what businesses are in your immediate area.
Just type in “upholstery” and your location, and Google will show you a list of nearby options complete with customer reviews and ratings.
– Angie’s List: This website is devoted to helping consumers find quality service providers in their area. You can search for upholstery businesses by location, and read reviews from previous customers before making your decision.
Once you’ve found a few potential candidates, take some time to visit their websites and/or give them a call to get more information about pricing, turnaround time, etc. With just a little bit of research, you should be able to find the perfect upholstery business near you!
What is Upholstery Business
Upholstery businesses provide a much-needed service to home and business owners alike. By upholstering furniture, they can add years of life to a piece while also providing it with a fresh, new look. It’s no wonder that the demand for this type of business is on the rise!
If you’re considering starting an upholstery business, there are a few things you should know. First and foremost, it’s important to have experience in the field. This will not only give you the skills necessary to do a great job, but it will also help you build trust with your clients.
In addition, having a strong understanding of different fabrics and materials is critical – after all, not all upholstery is created equal!
Finally, running an upholstery business requires some level of marketing savvy. You’ll need to be able to promote your services effectively in order to attract new clients.
Luckily, there are plenty of resources available to help you get started (including this blog post!).
So what are you waiting for? If you’ve got the skills and the drive, starting an upholstery business could be a great way to earn a living – or even just some extra cash on the side.
Give it a try today!
How to Fund Upholstery Business
Assuming you would like a blog post discussing ways to finance an upholstery business:
Starting your own business is no small feat, and it can be especially challenging when it comes to finding the right financing. If you’re considering starting an upholstery business, here are a few things to keep in mind when it comes to funding your new venture.
One option is to take out a loan from a bank or other financial institution. This can give you the capital you need to get started, but you’ll need to have a solid business plan and be prepared to make regular payments on your loan. Another option is to seek out investors who are willing to put money into your business in exchange for equity.
This can be a great way to get the funding you need without shouldering all of the risk yourself. Finally, consider using personal savings or taking out a personal loan from friends or family members. This can be risky, but if you have a solid plan in place it can be a great way to get started with limited financial resources.
No matter which route you choose, remember that starting your own business takes time, effort, and dedication. With the right planning and financing in place, though, there’s no reason why your upholstery business can’t be a success!
What Type of Business is Upholstery

Upholstery businesses can be found in a variety of settings, from large furniture stores to small independent shops. There are a few things that all upholstery businesses have in common, however. First and foremost, they all offer services to repair or replace the upholstery on furniture.
This can include anything from re-upholstering an old sofa to fixing a tear in a chair cushion.
In addition to offering upholstery services, most businesses also sell fabrics and other materials needed for upholstery projects. This allows customers to purchase everything they need for their project in one place.
Many businesses also offer design services to help customers choose the right fabrics and materials for their needs.
If you’re considering starting an upholstery business, there are a few things you’ll need to keep in mind. First, you’ll need to have experience working with fabrics and other materials used in upholstery projects.
You’ll also need to be familiar with the tools of the trade and have access to sewing machines and other equipment needed for upholstery work. Finally, it’s important to have a good business plan in place so that you can attract customers and grow your business over time.
Credit: kimsupholstery.com
Is Upholstery Profitable?
Yes, upholstery is a very profitable business. There are many people who are in need of upholstery services and are willing to pay good money for it. Upholstery businesses can charge anywhere from $50 to $500 per job, depending on the size and complexity of the project.
With a steady stream of customers, an upholstery business can easily make a profit.
What Tools Do You Need to Start an Upholstery Business?
There are a few tools you need to start an upholstery business. You will need a sewing machine, fabric, stuffing, and a few other supplies.
Sewing Machine- A good sewing machine is important for any type of sewing, but it is especially important for upholstery.
You will be working with thick fabrics and multiple layers, so you need a machine that can handle that. Look for a machine with adjustable tension and stitch length, as well as different needle sizes.
Fabric- The type of fabric you use will depend on the project you are working on.
For most projects, you will want to use something durable like canvas or denim. However, there are also many types of decorative fabrics available. Choose something that suits your style and the project you are working on.
Stuffing- Stuffing is what makes up the bulk of an upholstered piece. It gives it shape and support. There are many different types of stuffing available, from foam to feathers.
Choose something that is appropriate for the project you are working on and that will give you the look you want.
Other Supplies- In addition to the basics listed above, there are a few other things you will need in order to start an upholstery business.
Is Upholstery a Dying Trade?

Upholstery is not a dying trade. In fact, it is currently enjoying a resurgence in popularity, thanks to the rise of mid-century modern and other vintage styles. Upholsterers are in high demand as more and more people are looking to add unique, one-of-a-kind pieces to their homes.
There are many reasons why upholstery is making a comeback. For one, upholstered furniture is extremely comfortable. Unlike hardwood or metal furniture, which can be quite uncomfortable after sitting for long periods of time, upholstered furniture conforms to your body and provides support where you need it most.
Additionally, upholstered furniture is very durable – with proper care, an upholstered piece can last for decades. And finally, upholstery allows you to express your personal style in a way that few other types of furniture can match. Whether you prefer bold patterns or subdued colors, there’s an upholstery fabric out there that will suit your taste perfectly.
If you’re thinking about adding some upholstered pieces to your home décor, don’t hesitate – now is the perfect time to do so!
Is Learning Upholstery Hard?
Assuming you would like a blog post discussing the difficulty of learning upholstery:
Upholstery is the craft of covering furniture with fabric and padding. It is typically done in order to renew or update old furniture, or to add personalization to new pieces.
Many people choose to learn upholstery in order to save money on expensive professional services. While it is possible to achieve great results as a DIYer, upholstery can be challenging for beginners.
The biggest obstacle for most people is mastering the techniques.
Upholstery involves a lot of sewing, which can be difficult if you’ve never done it before. Even if you are familiar with a sewing machine,upholstering requires some specialized stitches that may take some practice to master. In addition, working with fabric and padding can be fiddly, and it’s easy to make mistakes that ruin your project.
Another challenge is finding high-quality materials. If you’re using second-hand furniture, it can be hard to find fabrics and padding that match the piece you’re working on. Even if you’re starting with new materials, it can be tough to track down exactly what you need unless you know where to look.
Finally, upholstery projects often take longer than anticipated. It’s not unusual for a simple chair reupholster job to take several days (or even weeks) from start to finish. This isn’t necessarily because the process is difficult; rather, it’s because there are so many steps involved, and each one takes time.
So Is learning upholstery hard? The answer seems yes at surface level but with some patience and perseverance anybody could learn this skill set!
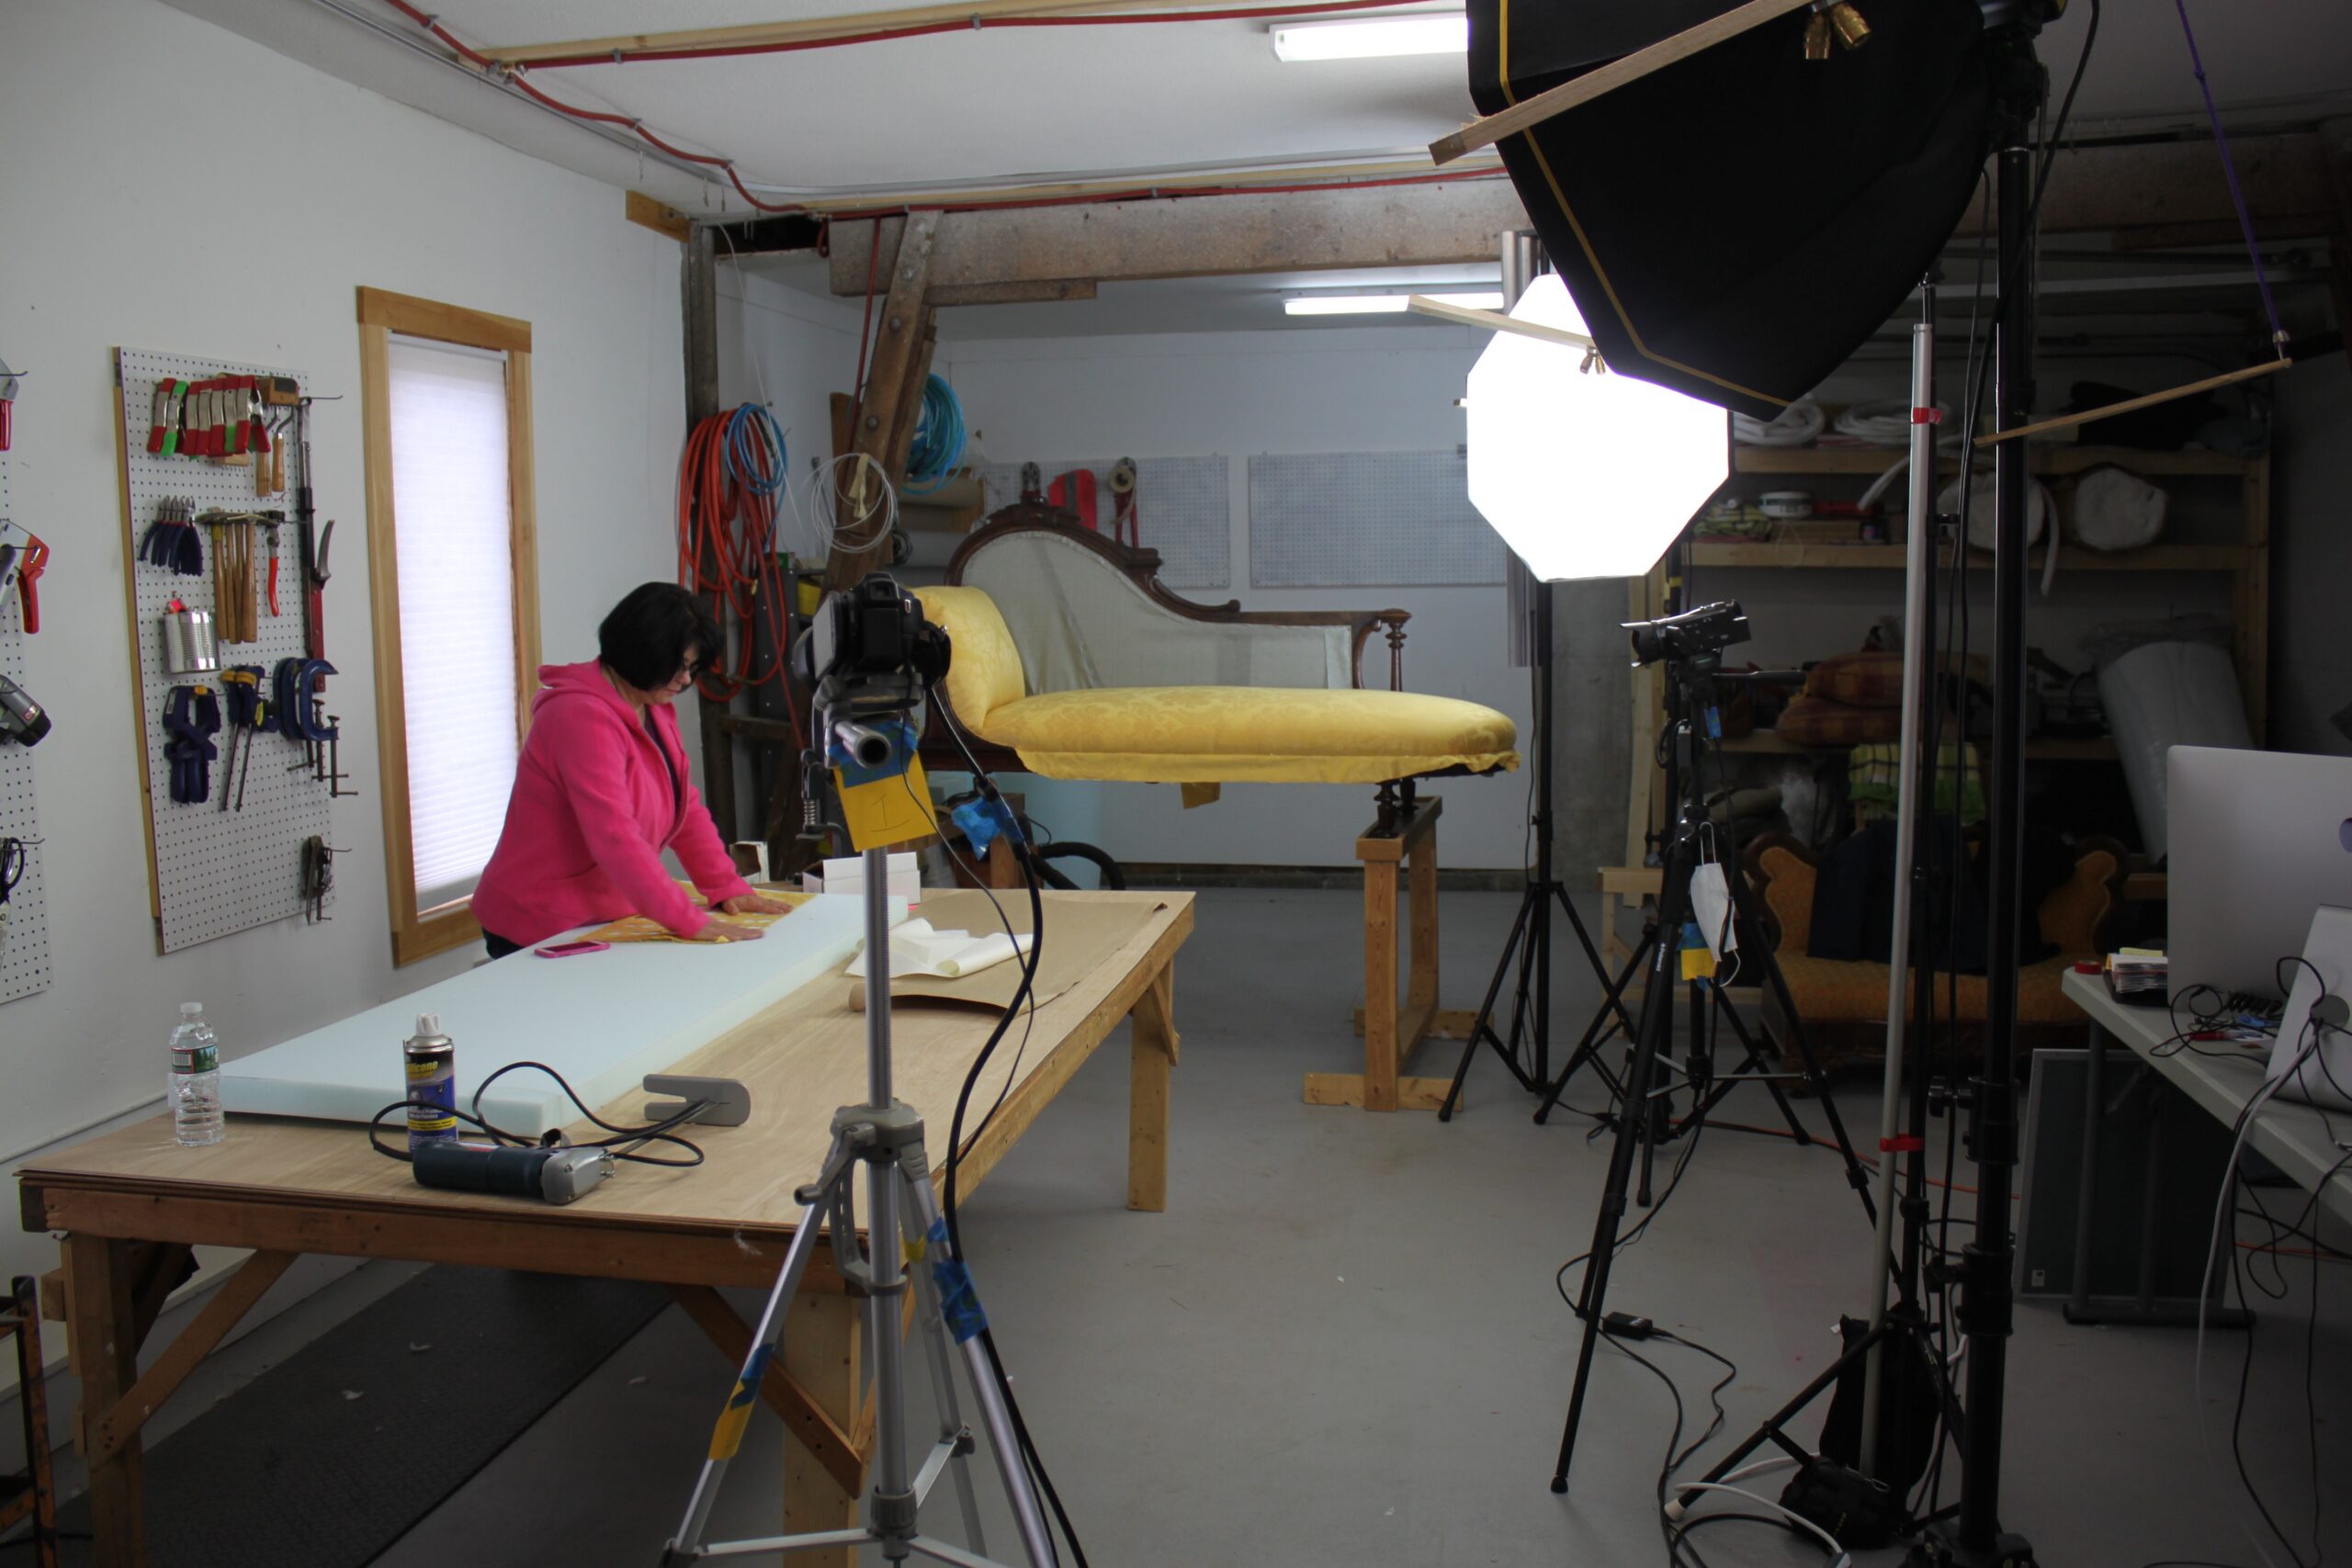
How to Run an Upholstery Shop!
Conclusion
If you have a passion for upholstery and want to turn it into a business, there are a few things you need to do to get started. First, you need to decide what type of upholstery business you want to start. There are three main types of businesses: residential, commercial, and automotive.
Each one has its own set of benefits and drawbacks that you need to consider before making your decision.
Once you’ve decided on the type of upholstery business you want to start, the next step is to create a business plan. This will help you figure out your start-up costs, marketing strategy, and how you’re going to run your day-to-day operations.
Without a solid business plan in place, it’s easy to get overwhelmed and give up on your dream of starting an upholstery business before it even gets off the ground.
After your business plan is in place, the next step is to find customers. The best way to do this is by networking with other professionals in the industry or by setting up shop at trade shows and conventions related to your field.
Once you’ve built up a clientele base, word-of-mouth will be your best form of advertising as happy customers spread the word about your high-quality workmanship.