If you’re thinking about starting a BBQ business from home, there are a few things you need to know. First, you’ll need to create a menu and decide what type of BBQ you want to serve. Will you be cooking traditional pit-smoked BBQ or grilling?
Once you’ve decided on your menu, you’ll need to get the proper equipment. If you’re cooking traditional BBQ, you’ll need a smoker. If you’re grilling, then you’ll just need a grill.
Next,you’ll need to find a good location for your business. This is important because it will determine how much foot traffic your business gets. Finally,you’ll need to market your business and let people know that you’re open for business!
- Choose a type of BBQ business
- There are many different types of businesses you can start in the BBQ industry, including catering, restaurant, food truck, and more
- Consider what type of business will best fit your needs and interests
- Develop a business plan
- This is an important step in starting any business, as it will help you map out your goals and objectives, as well as how you plan on achieving them
- Choose a location for your BBQ business
- If you’re starting a catering or restaurant business, this will be crucial to your success
- Select a spot that has high foot traffic and is convenient for potential customers
- Purchase the necessary equipment for your BBQ business
- This includes grills, smokers, preparation tables, serving utensils, and more
- Be sure to buy quality products that will last long-term; cheap equipment will only end up costing you more in the long run
- 5 Start marketing your BBQ business
- Get the word out about your new venture by creating marketing materials such as flyers , website , social media accounts ,and more
Starting a Roadside Bbq Stand
When it comes to starting a roadside BBQ stand, there are a few things you need to know. First and foremost, you need to have great barbecue! People will only come back if your food is good.
Secondly, you need to have a great location. You want somewhere with high traffic so that people will see your stand and be tempted to stop. And lastly, you need to have a friendly attitude and provide good customer service.
If you can do all of these things, then you’ll be well on your way to having a successful roadside BBQ stand!
How Much Does It Cost to Start a Bbq Business
Starting a BBQ business can be a great way to earn extra income or even create a full-time job. But how much does it cost to start a BBQ business? The answer may surprise you – it doesn’t have to cost very much at all!
Of course, the amount you’ll need to spend will depend on the size and scope of your business. If you’re just starting out, you may be able to get by with a small grill, some basic supplies, and a little bit of marketing. But if you want to grow your business, you’ll need to invest more money into equipment, supplies, and marketing.
Here are some rough estimates of what it may cost to start a BBQ business:
Equipment: $500 – $5,000+ (grill, smoker, utensils, etc.)
Supplies: $100 – $1,000+ (wood chips/pellets, charcoal, rubs & sauces)
Marketing: $50 – $5,000+ (website design & hosting fees; print materials; online ads)
Selling Bbq Roadside
If you’re thinking about setting up a BBQ stand by the side of the road, there are a few things you’ll need to keep in mind. First, you’ll need to check with your local zoning laws to see if it’s even allowed in your area. Once you’ve got that figured out, it’s time to start planning your menu and gathering supplies.
Your menu should be focused on items that can be cooked quickly and easily on a grill or smoker. Think about items like hot dogs, hamburgers, chicken sandwiches, and ribs. You’ll also want to have some sides available like chips or salads.
And don’t forget the drinks! Make sure you have plenty of water and soda on hand to keep your customers hydrated.
As for supplies, you’ll need a grill or smoker, charcoal or wood pellets, propane (if using a gas grill), food-safe containers for storing raw meat and prepared food, paper plates and utensils, napkins, and coolers for keeping drinks cold.
A canopy or tent will also be helpful for shielding yourself and your customers from the sun or rain.
Once you’ve got everything set up, it’s time to start cooking! Keep an eye on weather conditions so that you can adjust your cooking accordingly – if it’s windy outside, for example, you’ll want to make sure your grill is properly secured so that it doesn’t blow over.
And most importantly – have fun! Selling BBQ by the side of the road can be a great way to meet new people and enjoy the outdoors while doing something you love.
Starting a Roadside Bbq Stand in Texas
Are you looking to start your own roadside BBQ stand in Texas? If so, there are a few things you need to know before getting started. First, you’ll need to obtain a food handler’s license from the Texas Department of State Health Services.
This license will allow you to serve food to the public. Next, you’ll need to find a location for your BBQ stand. A good location would be near a busy road or highway.
Once you’ve found a location, you’ll need to get insurance for your business. Insurance will protect you and your customers in case of any accidents or injuries that may occur at your BBQ stand. Finally, you’ll need to purchase some supplies, such as tables, chairs, umbrellas, and coolers.
With all of these things in place, you’re ready to start serving up some delicious BBQ!
Bbq Business Plan Pdf
Are you looking to start a BBQ business? If so, you’ll need a great business plan!
Starting any business can be a challenge, but with the right planning and execution, you can set your BBQ business up for success.
Your business plan should outline your goals, strategies, and how you intend to achieve them.
Here are some key components to include in your BBQ business plan:
1. Executive Summary: This is a brief overview of your entire business plan.
It should include your company name, mission statement, and an overview of your products and services.
2. Company Description: Give potential customers an idea of what your company is all about. What makes you unique?
What are your values? This is also where you’ll provide an overview of your team and their experience in the industry.
3. Market Analysis: Who is your target market?
What are their needs and how will you meet them? This section of your business plan should include data-driven research that supports your assumptions about the market.
4. Sales & Marketing Plan: How will you generate awareness for your brand and drive sales?
Outline your marketing strategy and budget here. Be sure to include tactics for both online and offline marketing efforts.
Bbq Business for Sale
Looking for a BBQ business for sale? Here’s everything you need to know!
When it comes to owning your own business, there are many different factors to consider.
For some people, the thought of owning their own restaurant is a dream come true. However, with any business, there is always risk involved. So, how do you know if buying a BBQ restaurant is the right move for you?
Here are a few things to keep in mind:
1. Location is key – If the location of the restaurant is not ideal, it could make or break your business. Make sure to do your research and find out what other businesses are in the area and how successful they are.
2. The menu – Take a look at the menu and see if it appeals to you and your potential customers. After all, if you’re not interested in the food, chances are others won’t be either! There should be something for everyone so that everyone who comes in has an enjoyable experience.
3. The price point – It’s important to find a balance between pricing that will attract customers but also allow you to make a profit. Be realistic about what people in the area would be willing to pay for each item on the menu.
Bbq Business Equipment
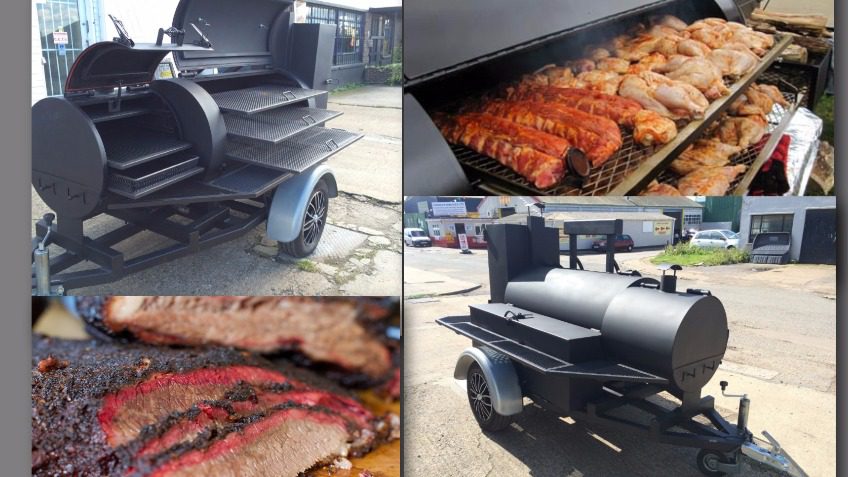
When it comes to opening a BBQ business, there is a lot of equipment that you will need in order to get started. This includes things like smokers, grills, and other cooking equipment. In addition to this, you will also need storage containers, serving utensils, and other supplies.
Below is a more detailed look at all of the different types of equipment you will need for your BBQ business:
Smokers- When it comes to smoking meat, there are a few different options available. You can either use an electric smoker or a charcoal smoker.
Electric smokers are easier to use and require less maintenance than charcoal smokers. However, they can be more expensive upfront. Charcoal smokers provide a deeper flavor to the meat but require more work to maintain them.
Grills- Grills are another essential piece of equipment for any BBQ business. There are a few different types of grills available on the market, such as gas grills, propane grills, and charcoal grills. Gas grills are the most popular type of grill because they’re easy to use and offer consistent heat.
Propane grills are also easy to use but can be less reliable than gas grills. Charcoal grills provide great flavor but can be difficult to control the heat on them.
Storage Containers- Storage containers are important for keeping your food fresh and organized.
You’ll need containers for storing raw meat, cooked meat, sauces, rubs, spices, etc. Make sure to get containers that seal tightly so that your food doesn’t go bad prematurely.
Serving Utensils- When it comes time to serve your food, you’ll need serving utensils like tongs, spatulas , plates , forks , knives , etc .
It’s important to have good quality utensils that won’t break easily and can withstand high temperatures .
Other Supplies- In addition to the above items , you’ll also need other supplies like cutting boards , foil , butcher paper , garbage bags , etc . These items will help make prepping and cleanup easier so that you can focus on running your business .
Credit: www.youtube.com
Is Barbecue Business Profitable?
Yes, barbecue businesses can be profitable. There are many factors to consider when starting a barbecue business, such as the cost of equipment, the price of meat, and the overhead costs of running the business. With careful planning and execution, a barbecue business can be a lucrative endeavor.
How to Start a Small Bbq Business at Home?
There are many ways to get started in the BBQ business, but for the small-scale entrepreneur, one of the most feasible is to start a BBQ business at home. This can be done with a very limited investment and still provide excellent quality product to your customers. Here are some tips on how to get started:
1. First, you will need to have a clear understanding of the barbecue process and what it takes to produce great tasting food. There is more to it than just throwing some meat on a grill and hope for the best! Study different methods and find out what works best for you.
Be sure to also perfect your recipes so that they are consistently delicious.
2. Next, you will need to invest in some quality equipment. A good grill is essential, as well as other tools like tongs, spatulas, etc.
You may already have some of these things around your house, but if not they can be purchased relatively cheaply online or at a local retailer.
3. Once you have all the necessary supplies, it’s time to start marketing your business! Let everyone know that you’re now open for business – put up flyers around town, post on social media platforms like Facebook or Twitter, and even distribute business cards.
It’s important to get word out there so people know that you exist and what services you offer.
4 . pricing is always an important factor when starting any kind of business venture .
Make sure your prices are competitive yet fair , taking into account both your costs as well as the current market rates . Also consider any special deals or promotions you could offer (such as discounts for larger orders) to help attract customers . Last but not least , don ’t forget about insurance !
This is vital for any type of catering business , since accidental fires or injuries could quickly ruin everything you ’ ve worked so hard to build up . Research different policies and find one that fits both your needs and budget . By following these steps , you should be well on your way towards starting a successful small – scale BBQ business right from the comfort of your own home !
Do You Need a Permit to Sell Bbq in Florida?
In order to sell BBQ in Florida, you will need to obtain a permit from the state. This permit will allow you to operate your business and sell food to the public. There are a few requirements that you must meet in order to obtain this permit, including having a valid Florida ID, passing a background check, and completing a food safety course.
Once you have met all of the requirements, you can then apply for your permit online or in person at your local county courthouse.
How Do I Start an Outdoor Bbq?
When the weather is nice, there’s nothing quite like firing up the grill and enjoying a delicious BBQ with friends or family. If you’re new to grilling, the prospect of cooking outdoors can be a little daunting. But don’t worry – we’ve got you covered!
Here’s everything you need to know about how to start an outdoor BBQ.
One of the most important things to consider when starting an outdoor BBQ is your fuel source. There are a few different options available, but charcoal is generally considered the best for flavor.
If you’re using charcoal, you’ll need to start by lighting a fire in your grill. You can do this by placing some crumpled paper or kindling in the bottom of your grill, then adding some charcoal on top. Use long-handled matches or a lighter to ignite the paper, then wait for the charcoal to turn white-hot before beginning to cook.
If you’re using gas as your fuel source, simply turn on your grill according to its instructions and wait for it to heat up before cooking. Once your grill is hot and ready, it’s time to start cooking! Begin by brushing the grate with oil using a long-handled brush.
This will help prevent sticking and make cleanup easier later on. Then, place your food on the grate and close the lid (if applicable). Grill until cooked through according to your recipe or personal preference.
And that’s all there is to it! With just a little bit of planning and preparation, you can enjoy a delicious outdoor BBQ any time of year.
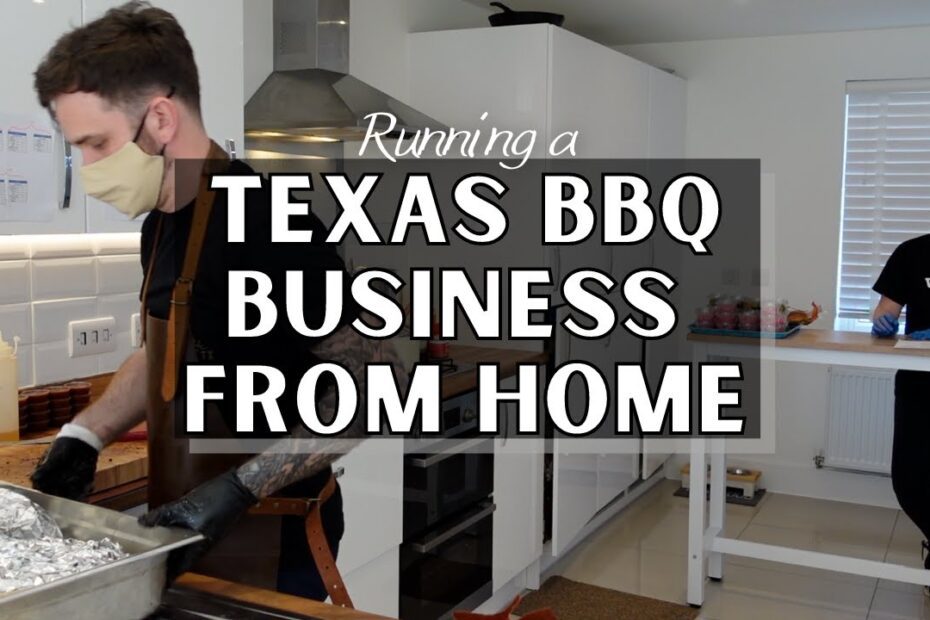
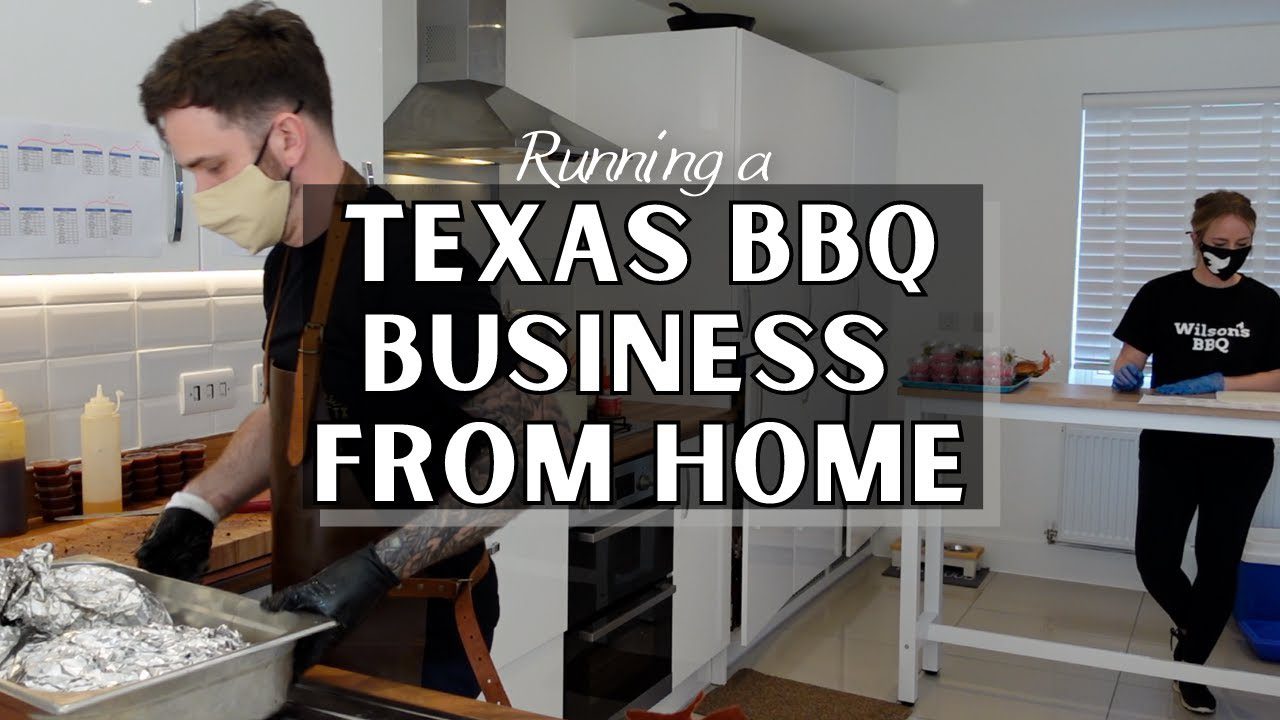
How We Run A Texas Style BBQ Business From Home | Click and Collect BBQ
Conclusion
If you’re passionate about BBQ and think you have what it takes to turn your hobby into a business, then starting a BBQ business from home is a great option! Here are some tips to get you started:
1. Decide on the type of BBQ business you want to start.
There are many options available, from catering to selling BBQ products online or at farmers markets. Choose the option that best suits your skills and interests.
2. Develop a business plan.
This will help you determine your start-up costs, marketing strategies, and financial goals.
3. Choose a catchy name for your business and create a logo to represent it. Your branding will play a big role in attracting customers, so make sure it’s professional and memorable.
4. Invest in quality equipment. You’ll need good grills, smokers, and other cooking gear if you want to produce top-notch BBQ. Do your research to find the best products for your budget.
5 perfect your recipes until they’re absolutely delicious! This is critical for success in the competitive world of BBQ businesses.